Vegan Gluten-Free Cauliflower Patties with Only 5 Ingredients
This week, I had a long discussion in the blog's Facebook group, "Vegans Making Muscles," about whether the nutritional value of frozen vegetables is preserved or destroyed during freezing.
A nice gentleman argued passionately that freezing completely destroys the nutrients in vegetables and that it's always better to eat fresh rather than frozen.
For those who didn't catch the discussion, I'll share here that he is partially right.
Why is he right?
Because it is always better to eat vegetables (and fruits) as fresh as possible.
What does "as possible" mean?
If you own a tree or a plot of land and can eat the fruit or vegetable as close to the harvest time as possible, that is the gold standard.
This way, we are exposed to the highest amount of vitamins and minerals.
However, most of us don't have a farm or even a fruit tree, so we are forced to purchase our produce at supermarkets, markets, or directly from growers.
Just so you know, vitamins start breaking down the moment the fruit is picked from the tree, which is why eating it close to harvest is ideal.
This is where things get a bit complicated: we have no way of knowing if the fruit sitting on the market shelf or arriving in our delivery hasn't been sitting in cold storage for several days before reaching us.
Fruits and vegetables can look beautiful, firm, and taste great thanks to good storage conditions, yet contain very few vitamins and minerals—and we wouldn't even know it.
But what about freezing?
Going back to the gentleman who claimed freezing destroys nutritional value, I can reassure you and argue the opposite: freezing actually preserves those values from breaking down because the freezing process happens immediately after harvest.
This means there are relatively high levels of vitamins in frozen vegetables.
- It's important to me to note that, as with everything, it's best to include both fresh fruits and vegetables in our daily diet, but there is no reason to avoid frozen ones.
So, what about the cauliflower patties?
Enough chatting! Now that we've cleared that up, let me tell you about the vegan cauliflower patty recipe I created in collaboration with Sunfrost.
They've launched frozen cauliflower rice (flakes) which can enrich stews and patties with dietary fiber, significantly lowering the carbohydrate and calorie count while speeding things up in the kitchen.
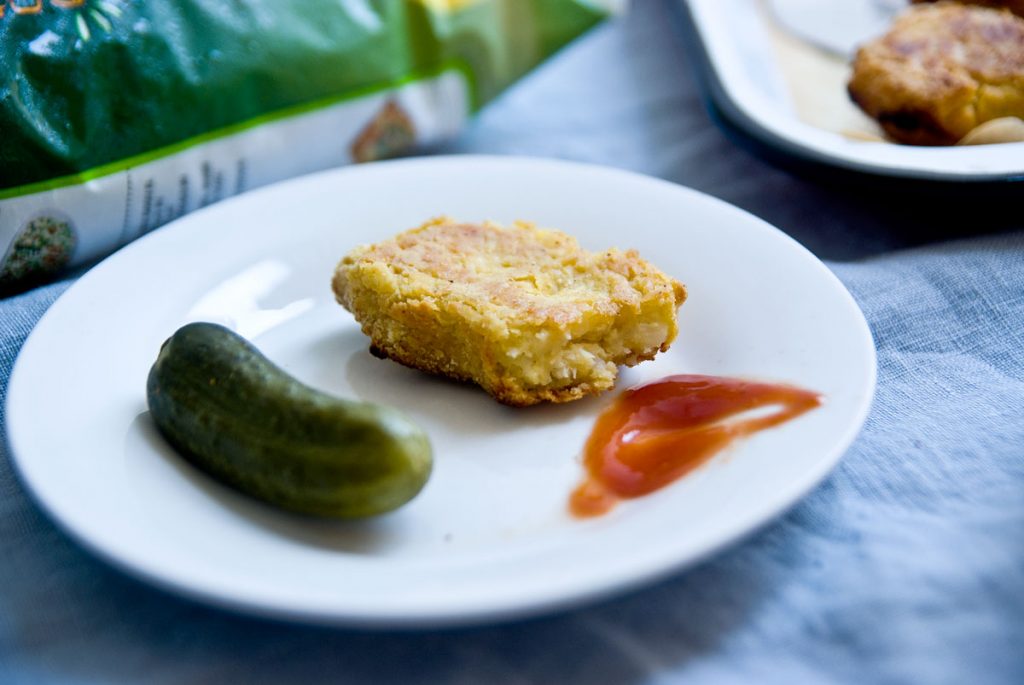
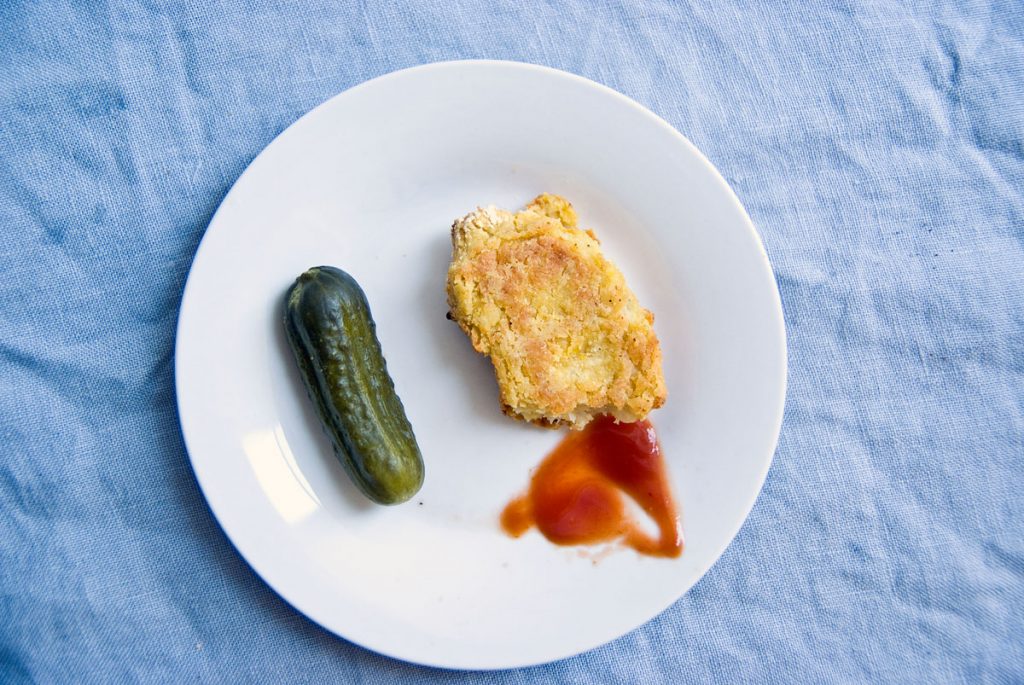
I used these cauliflower flakes to make baked vegan cauliflower patties. They are gluten-free, made from 5 simple ingredients, and turned out perfectly diet-friendly—soft on the inside, crispy on the outside, and honestly delicious. Plus, they took only a few minutes to prep!
________________________________________________________________
How to serve them?
3-4 patties make an excellent lunch or dinner solution when paired with a large salad.
These patties are also perfect for hosting and go great with a glass of wine or a cold beer.
________________________________________________________________
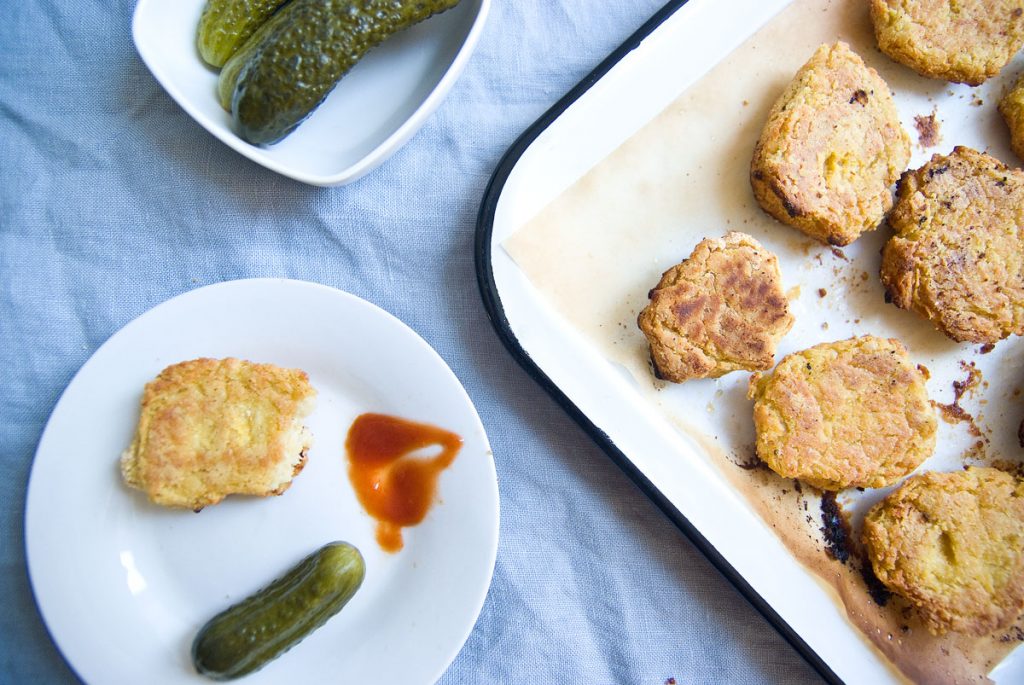
Nutritional Values:
Per 40 g patty:
80 kcal
3 g protein
9 g carbohydrates
4 g fat (of which 1 g is saturated fat)
2 g dietary fiber
Want another cauliflower recipe? How about a cold Tzatziki-style soup?
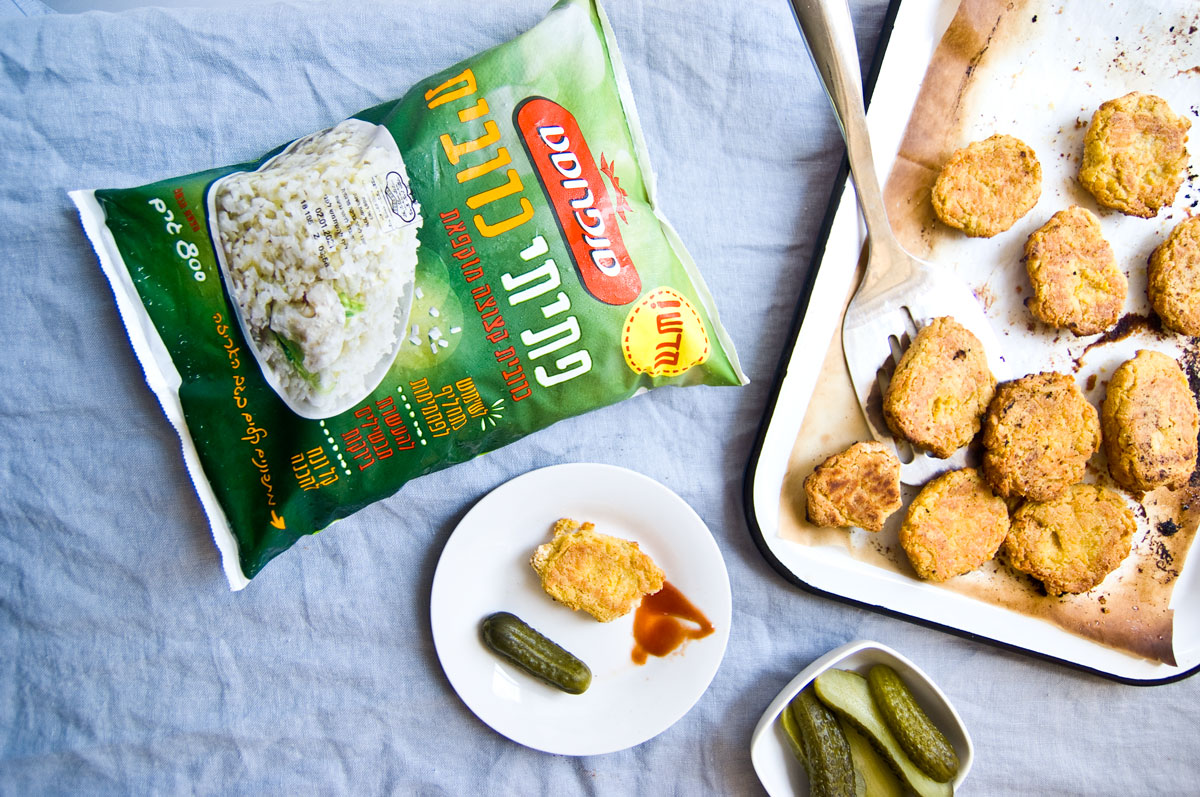
Vegan Cauliflower Patties
Ingredients
- 160 g Sunfrost cauliflower flakes 2 cups
- 150 g Cooked chickpeas 1 cup. See cooking instructions below
- 80 g Chickpea flour 1 cup. Lentil flour also works
- 1/2 cup Chickpea flour For coating the patties
- 1 Garlic clove
- 3 tbsp Olive oil
Instructions
-
Transfer the cauliflower flakes to a strainer and rinse under running water to thaw.
-
Squeeze well to drain out any excess liquid.
-
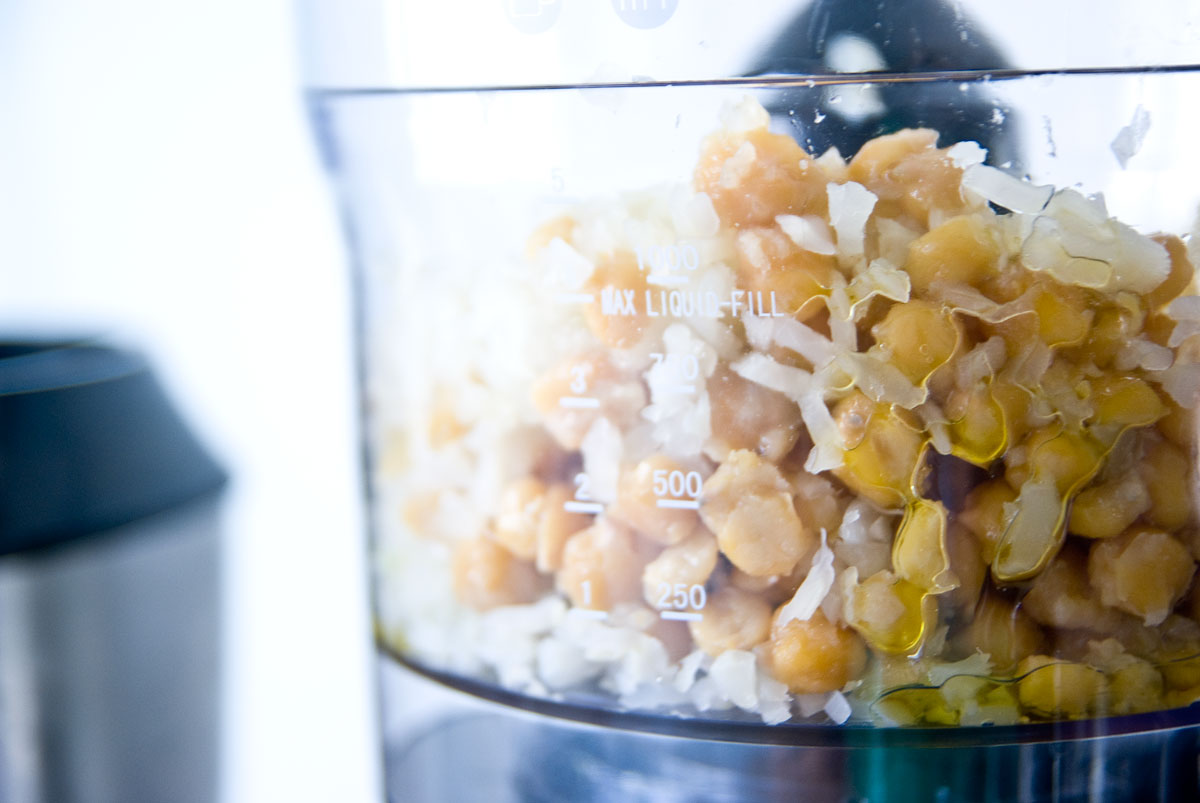
Place the cauliflower flakes, chickpeas, chickpea flour, garlic clove, and 2 tablespoons of olive oil (reserve 1 for later) into a blender.
-
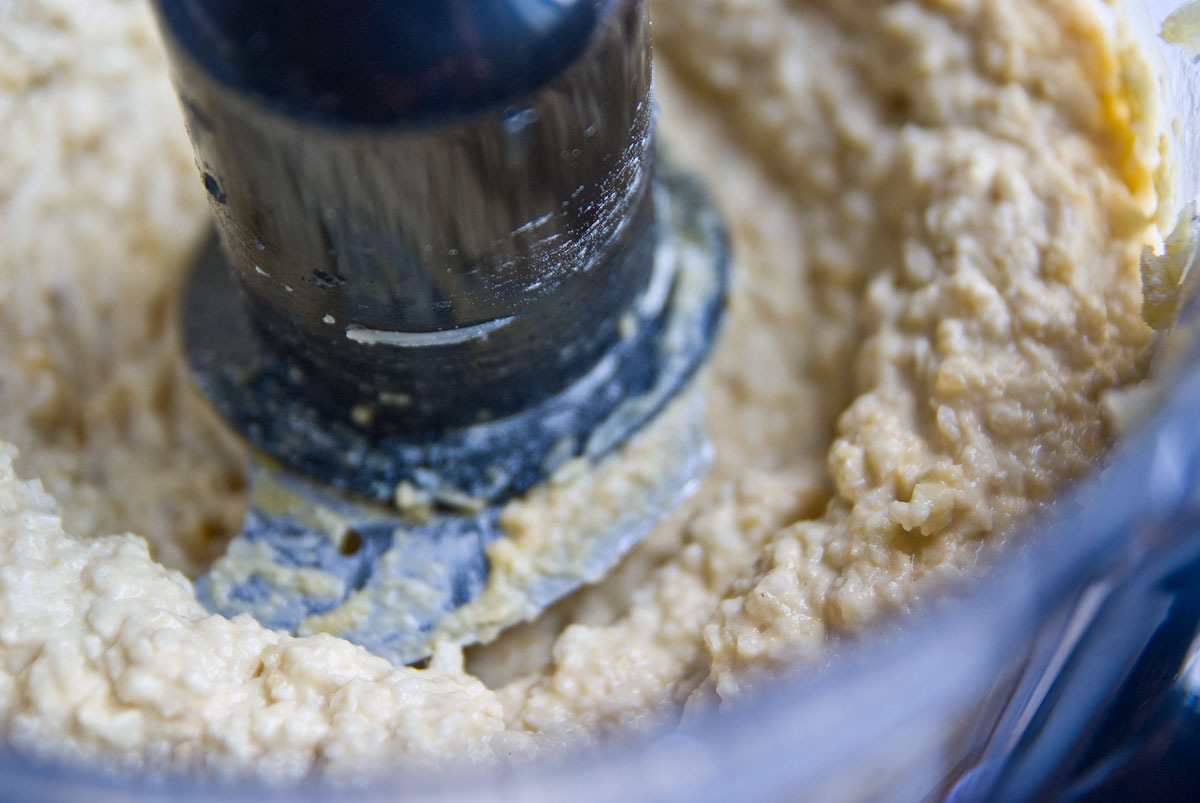
Process well until a sticky, uniform mixture forms.
-
Preheat oven to 200°C (390°F) on the upper grill (broil) setting.
-
Line a baking sheet with parchment paper and grease it with olive oil.
-
Pour the 1/2 cup of chickpea flour intended for coating into a deep bowl.
-
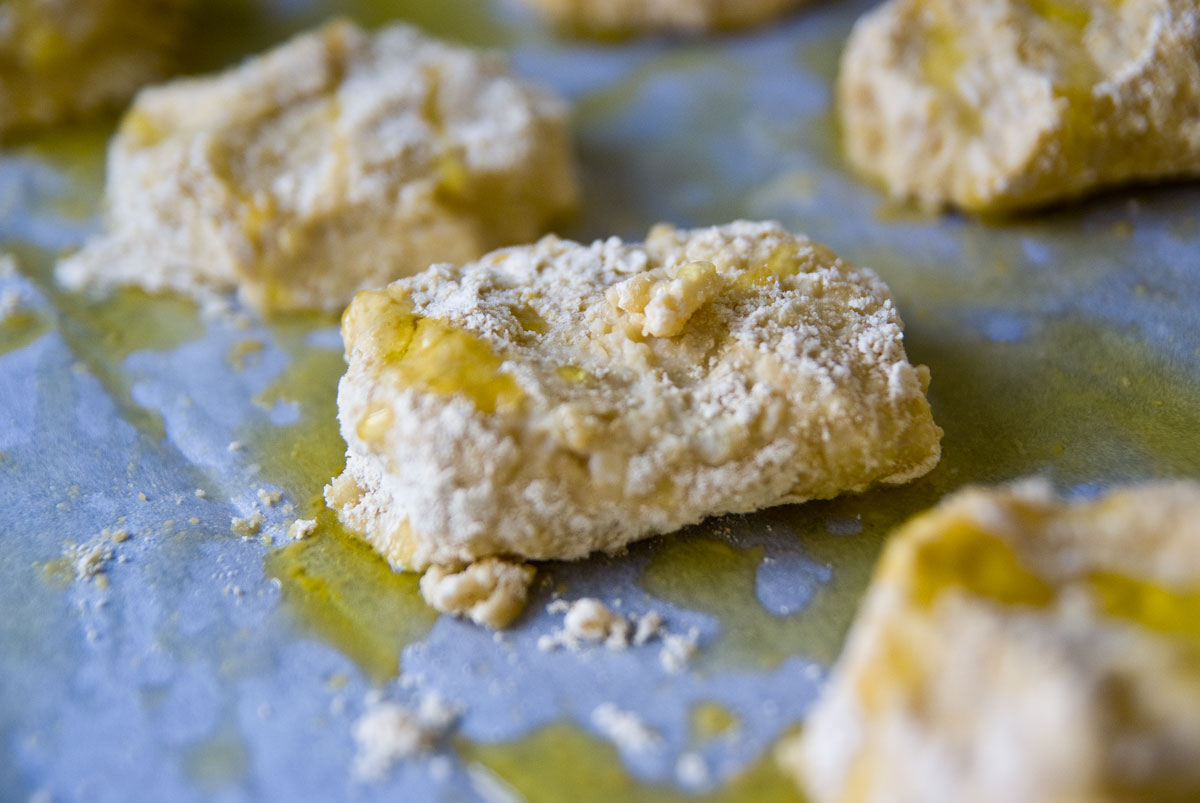
Using wet hands, form the mixture into patties, roll them in the chickpea flour bowl until evenly coated, and place on the baking sheet.
-
Repeat until you have 10 patties on the sheet.
-
Don’t worry if the mixture feels wet or if the patties seem fragile—they will firm up during baking.
-
Drizzle a little olive oil over the top.
-
Place the baking tray on a high rack, as close as possible to the upper grill/broiler.
-
Bake for 8-12 minutes until the patties are browned.
-
Enjoy while warm!