Spirulina Crackers - Flourless and Gluten-Free
There is a small cafe in north Tel Aviv that I work with occasionally.
They serve healthy food, like those beautiful and photogenic smoothie bowls that make people stand in line just to witness the stunning creations they make.
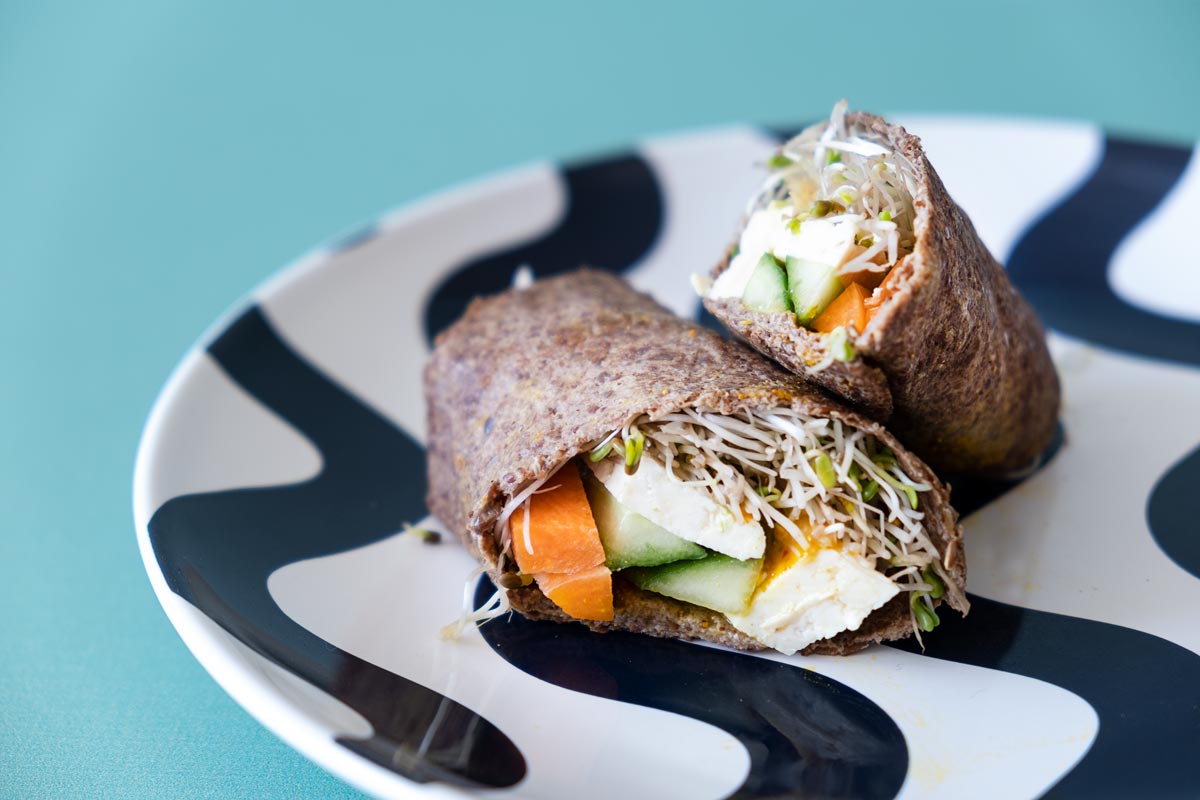
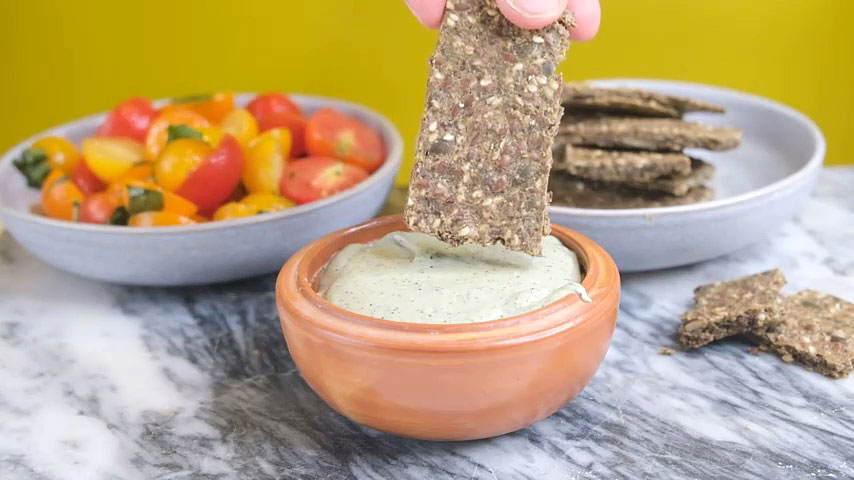
Out of the variety of dishes they serve, there is one I especially love: a health salad served with crunchy, delicious greenish spirulina crackers, accompanied by a bit of thick green tahini. A dream dish!
(Now try saying "greenish crackers" ten times fast.)
Every time I visit the cafe, usually for business meetings, I order the salad just for those wonderful crackers. They have a deep, cheesy flavor, they’re rich in seeds and spirulina, and they are perfectly crunchy. They are the ultimate salad topper, and you can truly feel the health in every single bite.
Sometimes I even dream about them at night. Seriously.
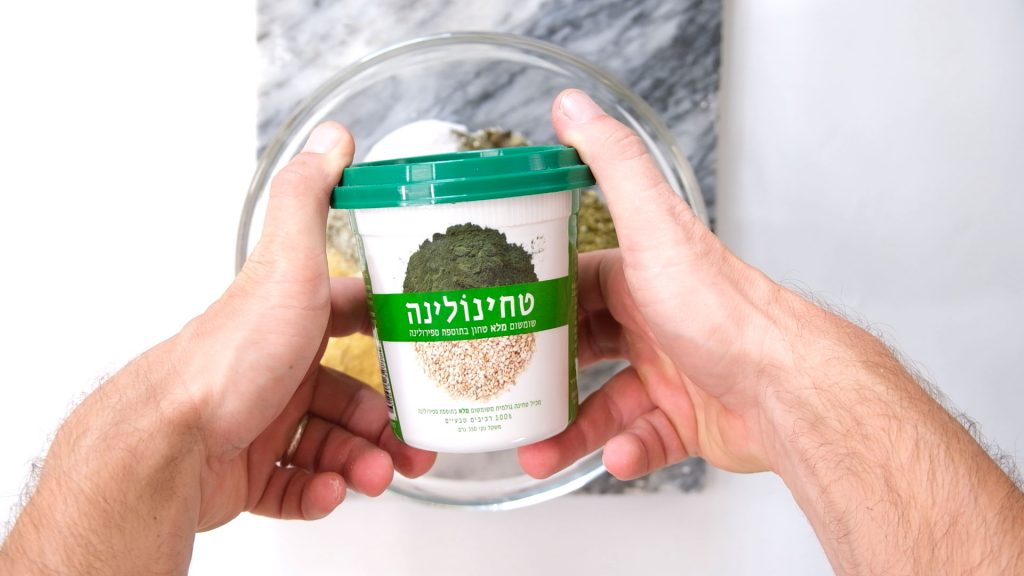
So when "Tahinulina" approached me to promote their wonderful spirulina tahini, I was thrilled. I suddenly realized how that cafe makes its crackers! (Just don't tell them I figured out their recipe).
This is great news because now everyone can whip up spirulina crackers in a flash without having to hunt for expensive spirulina all over the city.
Beyond being rich and tasty, these crackers are highly nutritious, packed with antioxidants and vitamins, and completely gluten-free.
It's essentially a superfood in cracker form. You can take them on trips, to school, to work, or just snack on them in front of the TV with a glass of wine or beer.
A bit about Spirulina Crackers
I used "Tahinulina" (who also participated in creating this recipe). If you aren't familiar with this wonderful product, you really should be; it's raw tahini combined with spirulina, which provides a dark green color, important antioxidants, and a wonderful flavor.
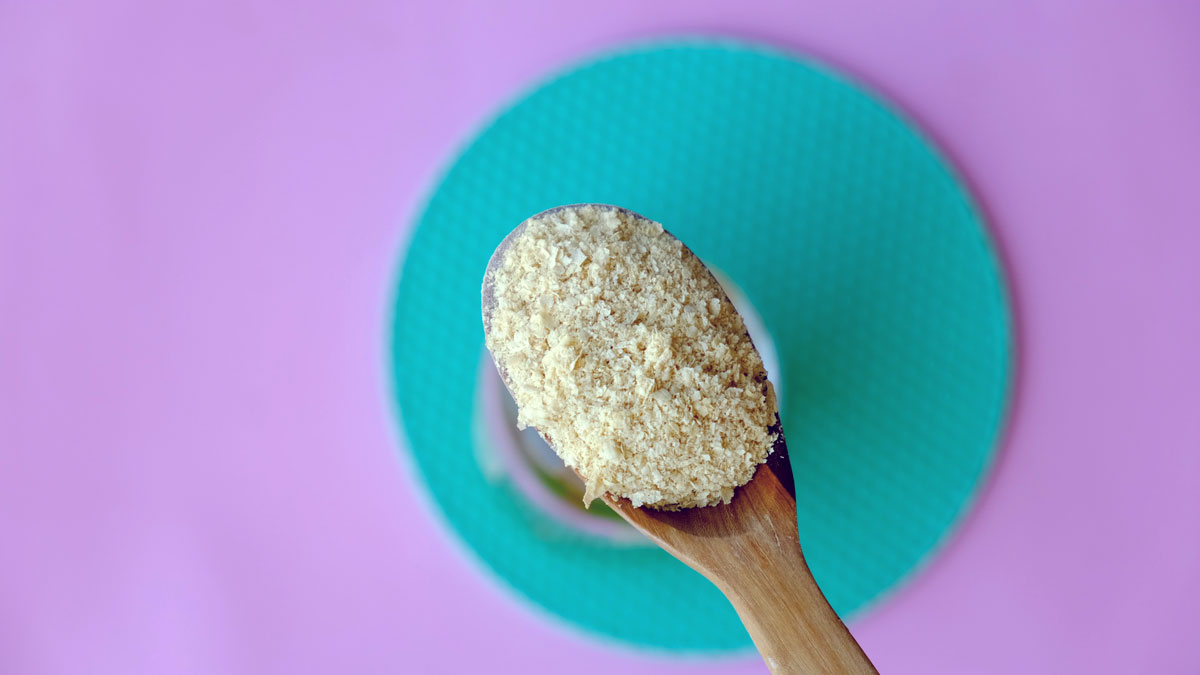
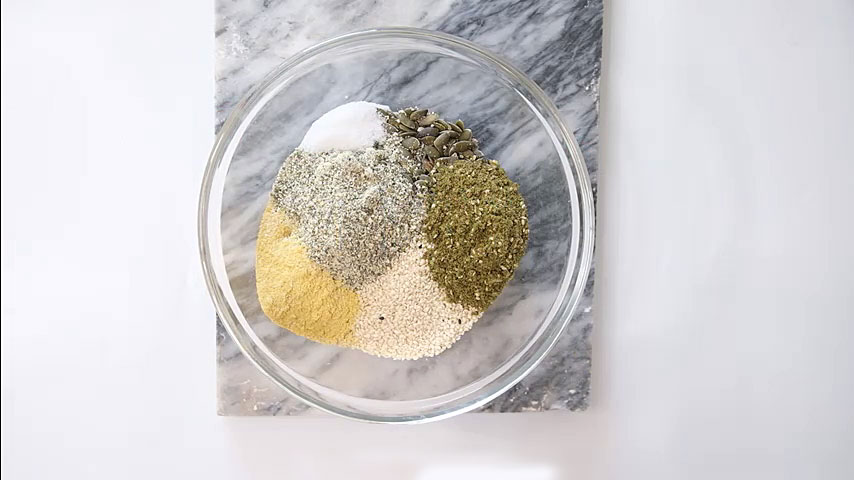
The base of the crackers is flaxseed, which is a fantastic source of Omega-3 fatty acids (don't worry, it doesn't oxidize during baking).
In this specific recipe, it cannot be substituted (maybe in the next recipe!)
For the green color and a healthy dose of folic acid and protein, I added shelled pumpkin seeds — you can swap these for blanched almonds, walnuts, or any other seeds you like.
I also added sesame seeds, both because I love them and for a great calcium boost. If you're not a fan, you can simply leave them out.
For an umami, "cheesy" flavor, I added one tablespoon of gluten-free nutritional yeast (there are such varieties). You can substitute this with a tablespoon of white miso.
Finally, to give it a stunning aroma and taste, I added a tablespoon of za'atar spice. You can swap this for any other spice you love, such as dried cilantro, oregano, or even curry powder (give it a try, it just might be a winner!).
Looking for another cracker recipe? Check here
Nutritional values by clinical dietitian and fitness trainer Noam Bachar:

One cracker out of 30 by weight:
74 kcal
3 g Protein
5 g Carbohydrates
5 g Fat
2 g Dietary Fiber
5 mcg Folic Acid
Spirulina Crackers
Ingredients
- 1/2 cup flaxseeds 70 g
- 1/2 cup ground flaxseeds 70 g before grinding
- 1/2 cup pumpkin seeds 68 g
- 1/2 cup ground pumpkin seeds 68 g before grinding
- 1/4 cup sesame seeds 35 g
- 1 tbsp nutritional yeast 50 g
- 4 tbsp raw Tahinulina 60 g
- 1 tbsp za'atar spice 16 g
- 1 tsp salt 10 g
- 1 cup water
Instructions
-
Preheat your oven to a very low heat (120°C).
-
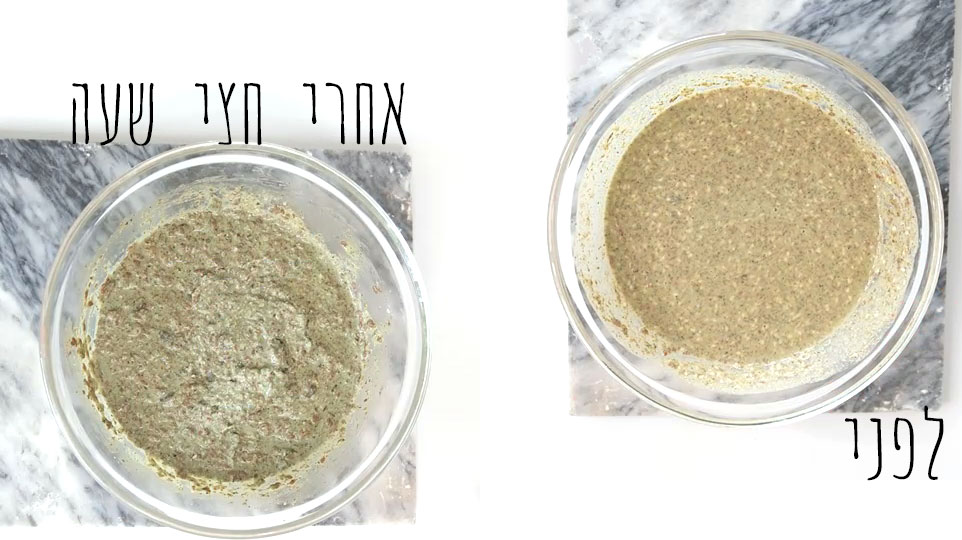
In a deep bowl, mix all ingredients until you have a uniform, liquidy mixture.
-
Set aside for half an hour until the mixture thickens slightly.
-
Using a spatula, spread the mixture as thinly as possible onto a baking sheet.
-
Bake for about an hour or until the mixture is completely dry. If the center is still soft while the edges are ready, you can cut the edges into squares and leave only the center to bake further.
-
Cut into squares and store in an airtight container for up to a month.